Troubleshooting Common eSIM Activation Issues
Troubleshooting eSIM issues can be frustrating because the problem often sits between your device settings and the network provider.
Here is a step-by-step guide to resolving the most common activation and connectivity errors, ordered from the simplest fixes to more complex solutions.
1. The "Unable to Activate" or "Installation Failed" Error
This usually happens during the initial setup when scanning the QR code or entering details manually.
Check for Internet: You must have a stable Wi-Fi or data connection to install an eSIM. You cannot install an eSIM without internet access.
Check if Carrier Locked: Go to Settings > General > About > Carrier Lock (iOS). If it says "SIM Locked," you cannot install a third-party eSIM. You must contact your original carrier to unlock the device.
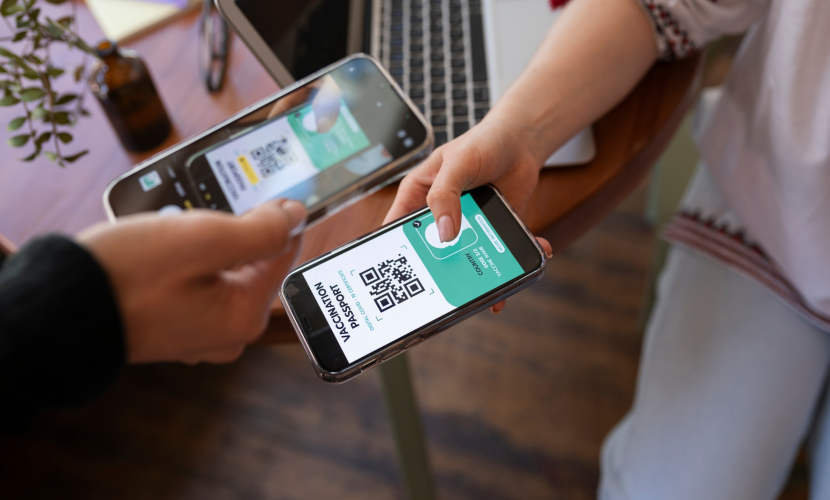
One-Time Use QR Codes: Most eSIM QR codes can only be scanned once. If you scanned it, deleted the eSIM, and tried to scan it again, it will fail. You likely need a new code from your provider.
VPN Interference: If you have a VPN active, turn it off. VPNs often block the handshake between your phone and the eSIM activation server.
2. Installed, But No Signal / No Service
The eSIM is in your settings, but the signal bars are empty or show "SOS."
Turn On the Line:
iOS: Settings > Cellular (or Mobile Service) > Tap the eSIM > Toggle "Turn On This Line" to ON.
Android: Settings > Network & Internet > SIMs > Tap the eSIM > Toggle "Use SIM" to ON.
Enable Data Roaming: This is the #1 cause of failure for travel eSIMs (like Airalo, Holafly, Nomad).
iOS: Settings > Cellular > Tap eSIM > Toggle Data Roaming ON.
Android: Settings > Network & Internet > SIMs > Tap eSIM > Toggle Roaming ON.
Restart the Phone: It sounds cliché, but a restart forces the modem to re-register with the local towers.
3. Data Works, But Usually Slow or Intermittent
Check APN Settings: Sometimes the Automatic APN (Access Point Name) fails to populate.
Check the email/instructions from your eSIM provider for the correct APN (e.g., "globaldata", "internet", etc.).
iOS: Settings > Cellular > Tap eSIM > Cellular Data Network > Type the name in the "APN" field.
Android: Settings > Network & Internet > SIMs > Tap eSIM > Access Point Names > Add New > Enter Name and APN > Save.
Switch Network Selection:
Turn off "Automatic Network Selection" and manually select a carrier supported by your eSIM provider. (e.g., If in France, manually select Orange or Bouygues).
4. iMessage / FaceTime Issues (iOS Only)
If your iMessage breaks or starts sending from your email address instead of your number:
Keep Primary Line On: Do not turn off your Primary (home) line if you want to keep using iMessage with your main number.
Check Send & Receive: Go to Settings > Messages > Send & Receive. Ensure your phone number has a checkmark next to it.
Data Source: Ensure your phone is using the eSIM for Data, but your Primary line remains active for Voice & SMS (even if you disable roaming on the primary line to avoid fees).
5. The "Nuclear Option" (Reset Network Settings)
If nothing else works, this resets all Wi-Fi passwords, Bluetooth connections, and cellular settings to factory defaults.
Warning: You will lose your saved Wi-Fi passwords.
iOS: Settings > General > Transfer or Reset iPhone > Reset > Reset Network Settings.
Android: Settings > System > Reset Options > Reset Wi-Fi, mobile & Bluetooth.
Summary Checklist
[ ] Is Wi-Fi on during install?
[ ] Is the device unlocked?
[ ] Is Data Roaming ON?
[ ] Is the APN correct?
[ ] Have you restarted the device?
“The Internet is the first thing that humanity has built that humanity doesn’t understand, the largest experiment in anarchy that we have ever had. Cybersecurity is not just about protecting your devices. ”

Which Devices Support eSIM in 2025
06 Jul 2025
How eSIM Is Changing the Way We Stay Connected
06 Jul 2025

How to Use eSIM When Traveling Abroad
18 Apr 2025